Deployment
Everything (GraphQl, Apollo, Next.js, Node.js, Firebase Functions) has been deployed into Firebase without the need to setup separate servers.
In this section we will discuss about how to deploy this template in Firebase. Just run the below command in your terminal in the root headless-graphql directory step by step and you are good to go,
Before following the deployment procedure, make sure you follow the Instllation section to install the
headlesson your computer.
Build Server
Before deploying the application, you've to build the web & server. With that, it'll create a cloud package, and on that package, you've to do some configuration.
At first, run this command from the root folder to build the web and server.
yarn web:build
yarn server:build
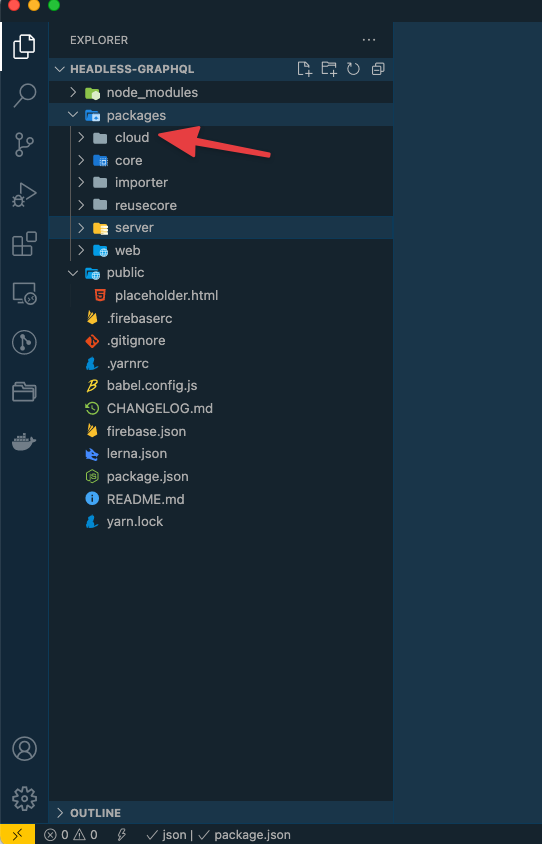
It'll create a cloud package under the packages folder.
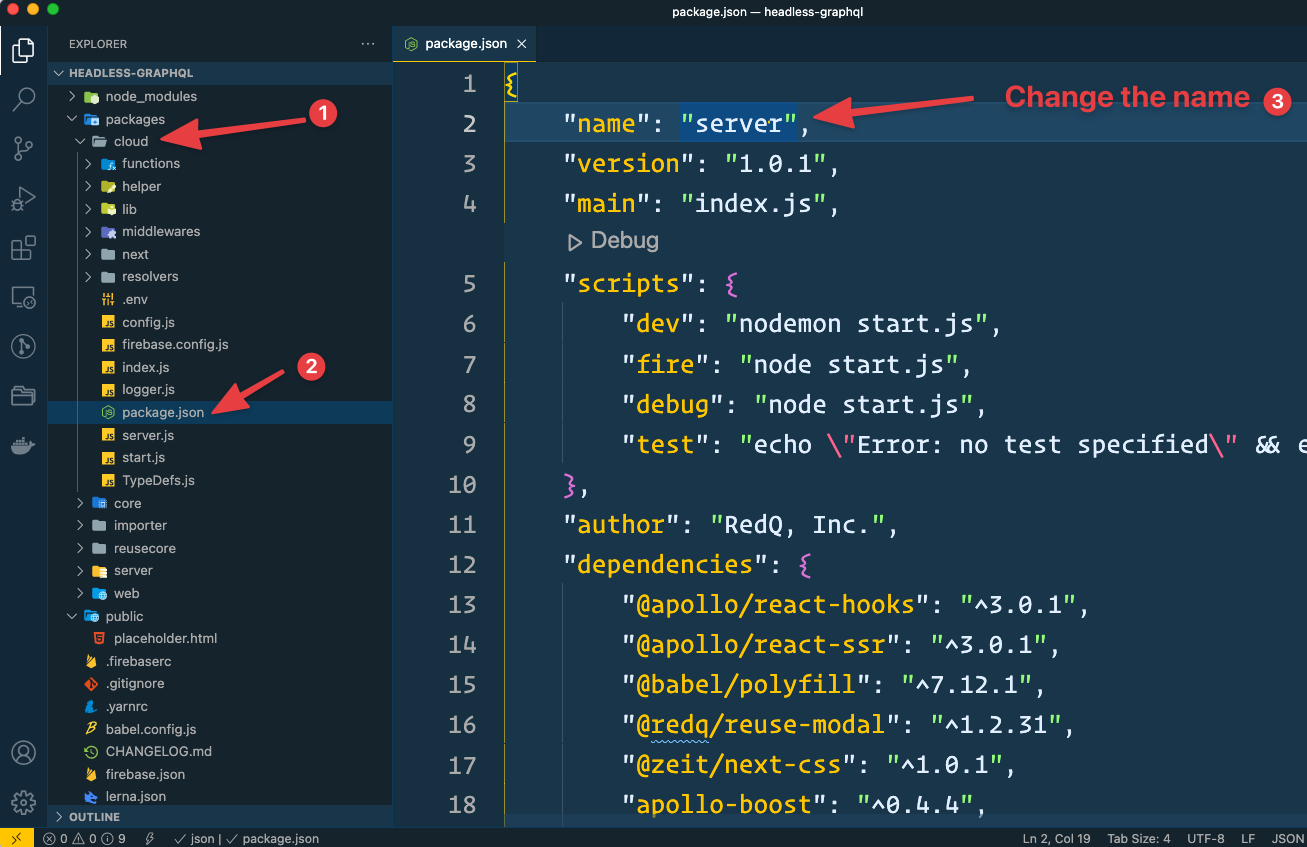
Now open packages -> cloud -> package.json and change project name to something else.
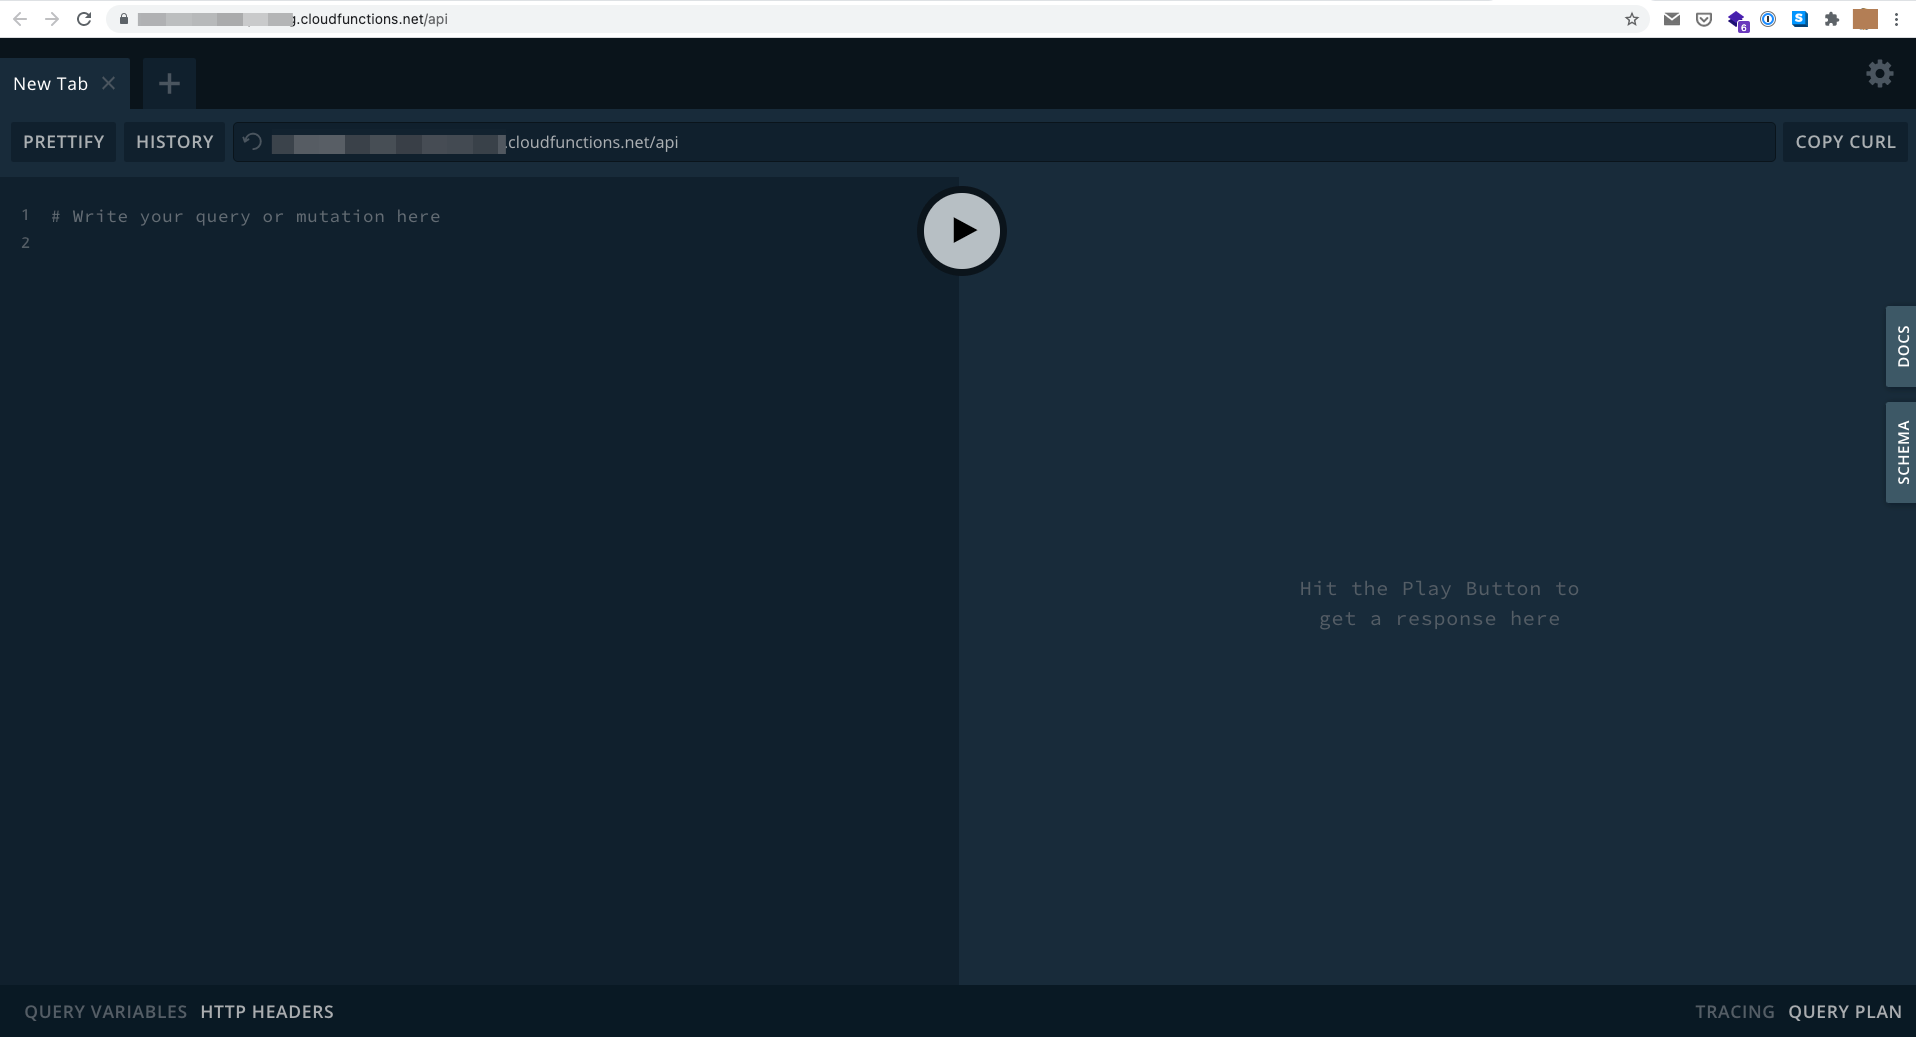
Generate API Url
For actual deployment, a staging or production API is required, but as of now, without deploying the server, you'll not get any deployed URL. To resolve this issue, you've to deploy as a dummy deploy to get the API URL.
Run this command from root folder to generate a API URL.
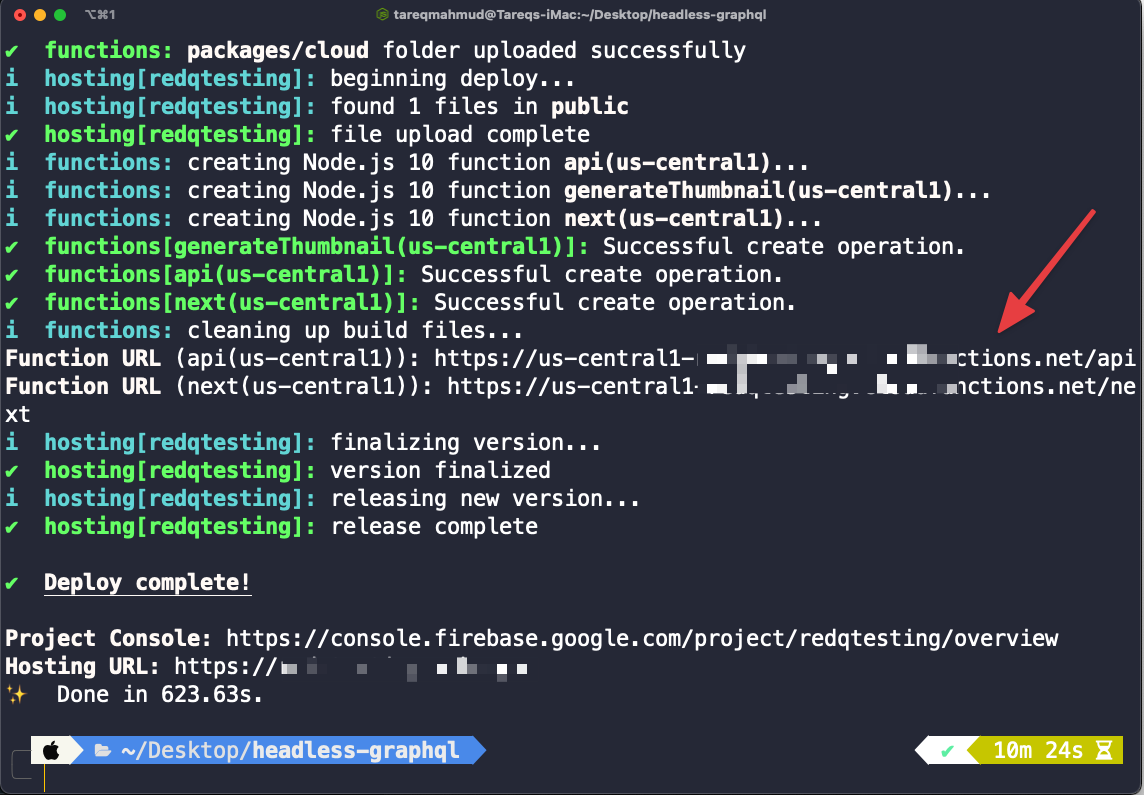
yarn deploy
For staging run
yarn shell
With this command, you'll get an API URL.
Env Config
Now add that API to GRAPHQL_URL_PRODUCTION to,
packages/web/
packages/server/
packages/cloud/
For
stagingadd staging URL toGRAPHQL_URL_STAGING
Deploy
And finally, run this deployment command again. It'll deploy your application to firebase and will provide a front-end link as an output.
yarn deploy

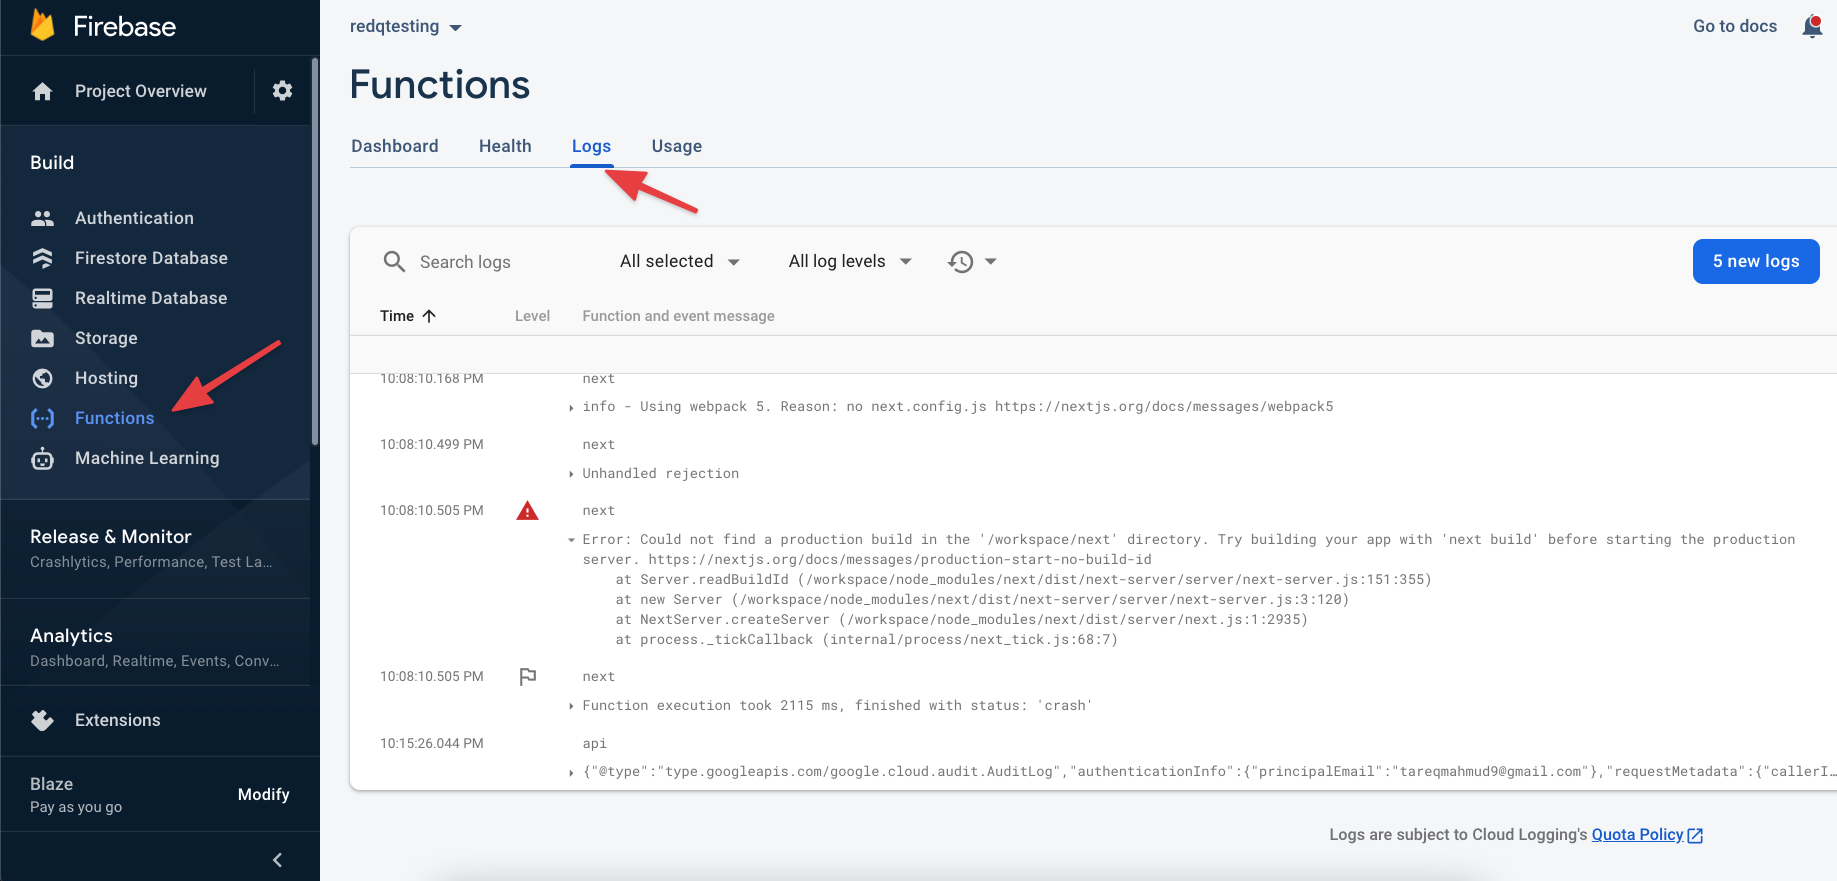
If you face any issue during the deployment, the go to your
Firebase -> Functions -> Logto check the error,